The Anatomy of a Sock and How It Translates to The Loom
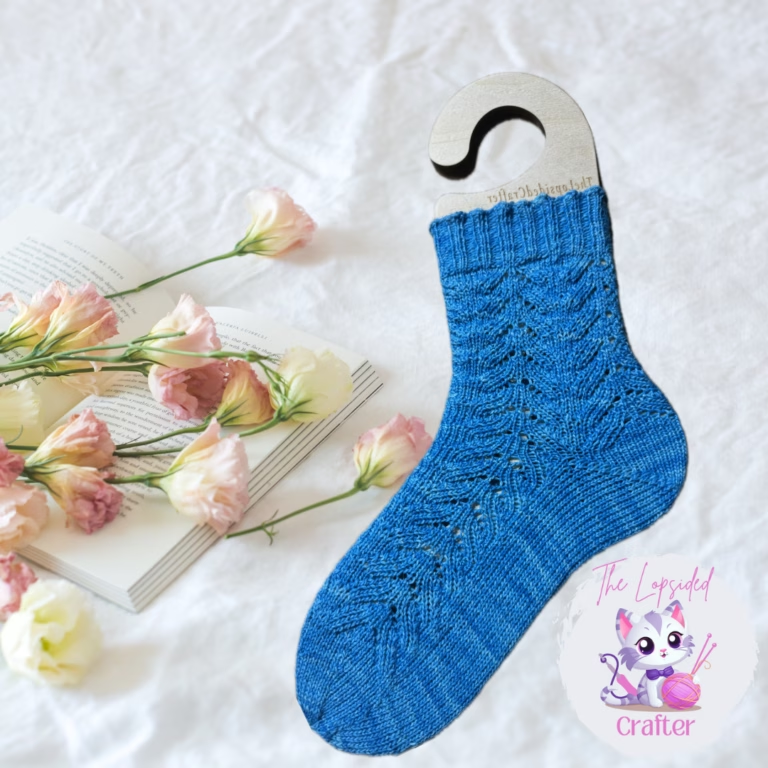
Loom Knit Socks
If you’ve ever looked at a loom knit socks pattern and thought, “Wait… what exactly is the gusset again?” — you’re not alone.
Understanding the anatomy of a sock is one of the most helpful things you can do before diving into loom-knit socks. Once you know the different sections and what they do, reading patterns becomes easier and designing your own socks suddenly feels much less mysterious.
In my latest video, I walk through the parts of a sock and how each section translates when loom knitting. If you’re new to sock making (or just want to understand why your socks work the way they do), this is a great place to start.
Why Understanding Sock Anatomy Matters
Whether you’re knitting with needles or using a loom, every sock follows the same basic structure. Each section plays an important role in fit, stretch, and comfort.
When you understand the anatomy of a sock, you can:
- Read sock patterns with confidence
- Modify patterns for better fit
- Design your own loom knit socks
- Troubleshoot issues like tight heels or baggy toes
Sock construction isn’t complicated once you see how all the pieces fit together.
The Main Parts of a Sock
Let’s break down the most common sections you’ll find in a sock pattern.
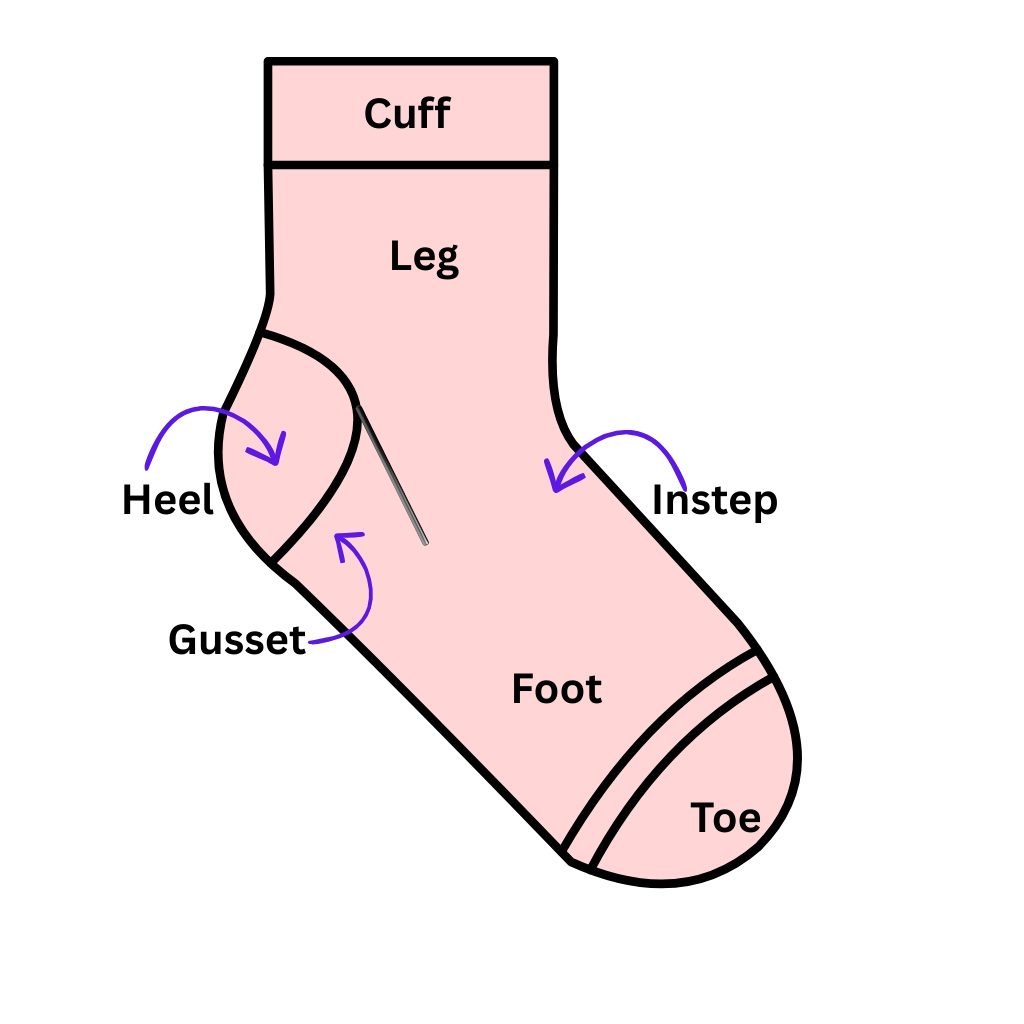
The Cuff
The cuff is the top of the sock that sits around your leg.
Most cuffs use ribbing (like 1×1 or 2×2 rib) because ribbing stretches and helps the sock stay up without being too tight.
In loom knitting, this is usually created using knit and purl stitches or a ribbing technique that mimics traditional knitting.
The Leg
The leg is the section between the cuff and the heel.
This is often where stitch patterns live — lace, cables, textures, or colorwork. For beginner socks, the leg is usually knit in plain knit stitches (stockinette).
On the loom, the leg is typically worked in the basic knit stitch unless you’re adding texture.
The Heel
The heel is where the sock begins to shape to your foot.
There are several heel styles used in loom knitting, including:
- Heel flap and gusset
- Short row heel
- Afterthought heel
- Fleegle-style heel variations
Each method creates slightly different fit and structure. Some are great for beginners, while others offer more customization.
The Gusset
The gusset adds extra room where the foot and heel meet.
In traditional sock construction, stitches are picked up along the heel flap and then gradually decreased to shape the foot. This creates a comfortable pocket for the heel.
In loom knitting, gussets are created with increases and decreases along the sides of the foot to create the same shaping.
The Foot
The foot section runs from the heel to the beginning of the toe.
Most patterns keep this simple so the sock stays comfortable inside shoes. It’s usually worked in stockinette or basic knit stitches.
When loom knitting socks, the foot length is typically worked until you reach about 1.5–2 inches before the full foot length to leave room for the toe shaping.
The Toe
The toe is where the sock tapers to close around your toes.
Common sock toes include:
- Wedge toe
- Rounded toe
- Star toe
Many loom knitters finish the toe using the Kitchener stitch (grafting) for a smooth, seamless finish.
Translating Sock Construction to the Loom
The cool thing about loom knitting is that even though the tools are different, the structure of the sock stays the same.
Every sock still includes:
- Cuff
- Leg
- Heel
- Gusset (depending on heel type)
- Foot
- Toe
The loom simply changes how the stitches are formed, not how the sock is built.
Once you understand the anatomy, you can easily follow sock patterns designed for loom knitting or even adapt needle-knit designs.
Tips for Beginner Loom Knit Sock Makers
If you’re just starting your sock journey, keep these tips in mind:
1. Start with a simple sock pattern
Vanilla socks are the best way to learn construction.
2. Pay attention to gauge
Sock fit depends heavily on stitch density.
3. Practice heel techniques
Heels are often the trickiest part of socks, but once they click, everything gets easier.
4. Measure your foot
Good measurements lead to great-fitting socks.
Final Thoughts
Socks might look complicated at first, but once you understand their anatomy, they become much easier to knit — even on a loom.
Learning the structure of a sock helps you move beyond just following patterns and start truly understanding how socks are built.
If you’d like to see each section explained visually (and how it looks on a loom), check out the full video above.